Yoga Postures
| Adho Mukha Svanasana - Downward Dog | Jatharaparivartanasana - Reclining Twist Pose |
| Parsvottanasana - Pyramid Pose | Trikonasana - Triangle Pose |
| Vrsksasana - Tree Pose |
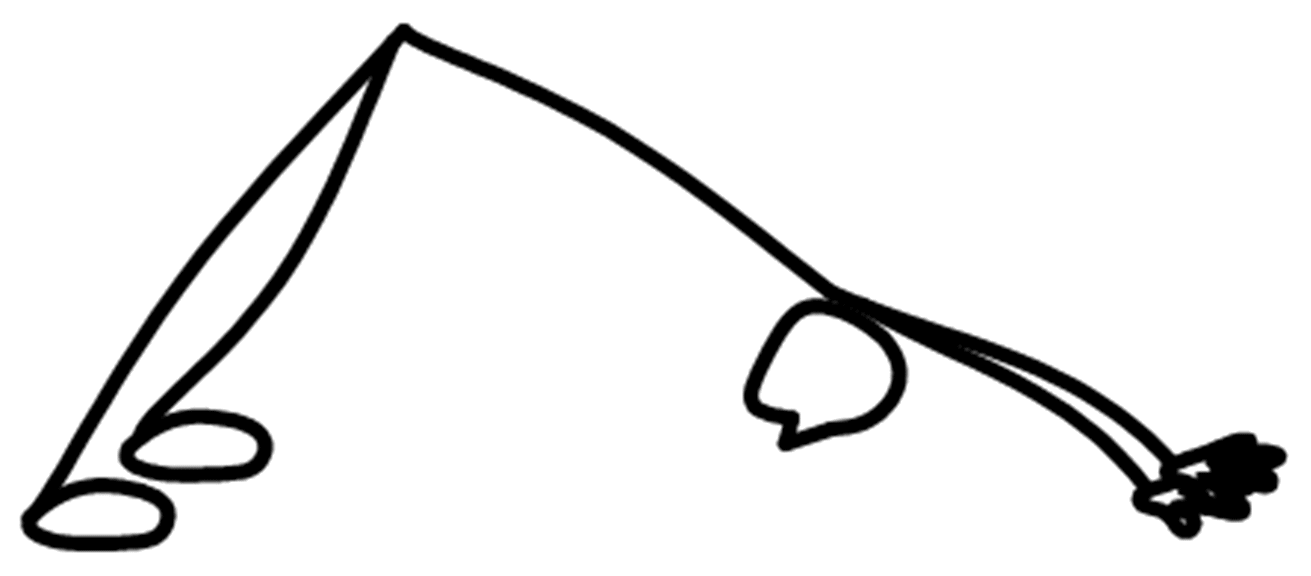
Adho Mukha Svanasana or Downward Dog Pose is arguably the most well known of all yoga poses probably due to its prevalence in so many yoga practice routines. It is often used as a transitional pose between standing and mat postures, particularly when practiced as part of the Sun Salutation, but has many benefits in and of its own right.
Down Dog stretches the back and the backs of the legs, opens the chest and builds upper body strength. It also intoduces a gentle inversion which also stimulates the brain and the nervous system.
It is a standing posture, although the weight of the body is supported evenly between the hands and the feet.
Step by Step
- Begin on your hands and knees with your wrists directly under your shoulders and your knees directly under your hips
- Grip your mat slightly with your finger tips (to support your wrists a bit), curl your toes under and push up with the hips until your legs are straight and your upper arms are even with your ears. Your body should look like an upside down "V"
- Try rotating your upper arms outward slightly to broaden the collarbones before allowing your head to hang and your neck to relax
- Beginning at the shoulders, allow the entire back of your body to lengthen towards your heels and the floor.
- If your heels are in the air, don't force them down or step your feet closer to your hands, the muscles and tendons of the backs of the legs will lengthen eventually. Ensure that your heels are in line with the middle of your toes so that these muscles and tendons will lengthen evenly. Over time, this will help you with a more upright posture and reduce chronic back strain
- One at a time, first bend one knee allowing the opposite leg muscles to lengthen, and enjoy the sensations of this slow 'walking the dog'
- To release the pose, either step the feet one at a time towards the hands, bend the knees and push up to standing, or allow the knees to bend and lower yourself back down to table top position.
- strengthens and stretches entire legs, arms, back and spine
- strengthens and tones the muscles of the abdomen
- strengthens shoulders and tones the muscles of the upper arms, forearms, wrists and hands
- stretches hamstrings, achilles tendon and ankle joints
- improves posture, concentration and memory
- stimulates the complexion, hair, eyes; and,
- cools the brain.
This is a mild inversion with the head slightly lower than the heart, so those with high blood pressure should take extra care releasing the posture and allow a few breaths while the blood pressure normalizes.
Modifications
Use the 'walking the dog' motion to allow your body to tell you if there are any modifications it would like. In general, one of the reasons this posture is so common is that nearly everyone can practice it without modifications and because of the overall lengthening and strengthening benefits of the posture.
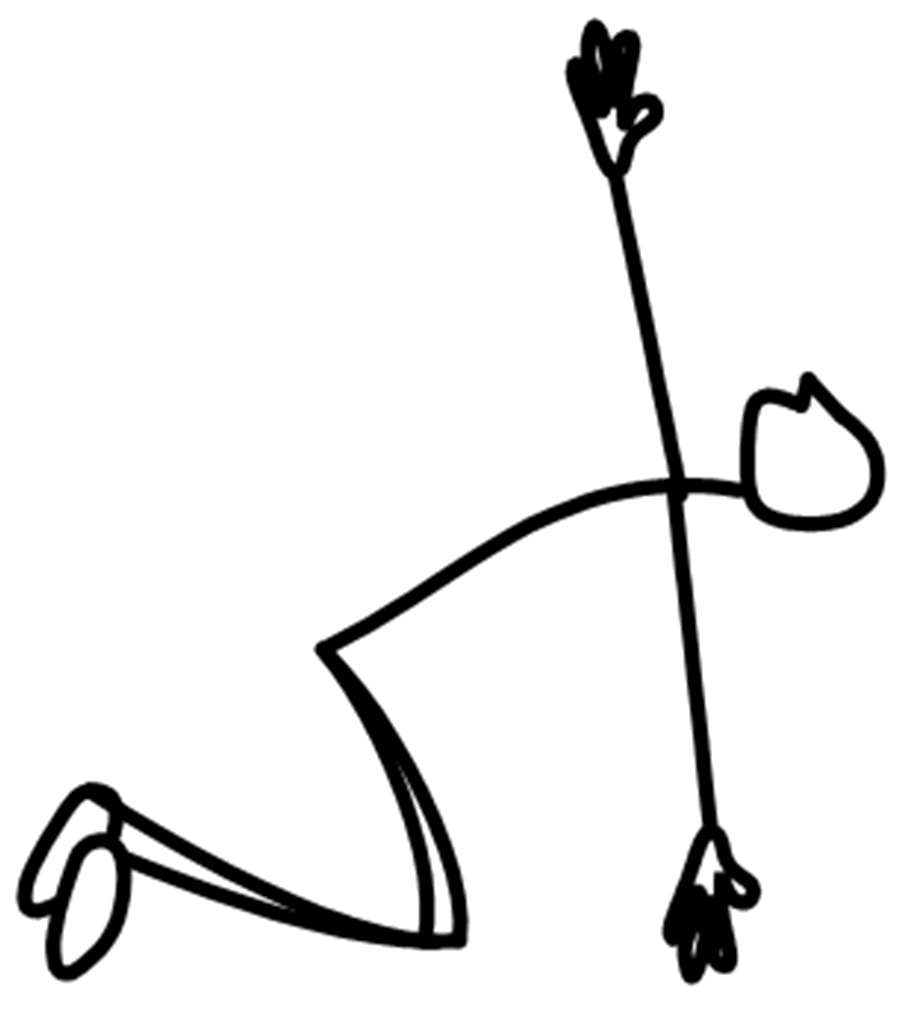
Reclining Twist wrings out the spine from the bottom to the top and in doing so massages all of the organs of the torso.
By varying the positions of the knees we can alter where in the spine the stretch is felt. Having the knees high moves the twist to the upper back, whereas lowering the knees moves the twist more to the lumbar / sacrum area.
Since we are reclined or laying down, we can relax and allow gravity to do the work for us allowing the twist to penetrate deep into the back.
Step by Step
- Lie flat on your back and bend your knees towards your chest.
- Hold your left knee with your left hand and reach your right arm straight out from the shoulder with your right palm down on the floor.
- Gently roll to the right until both knees are resting on the floor just as if you were lying on your side in bed. Take your left hand and place it on top of your right hand to align your shoulders.
- On an inhale, let your eyes follow the fingertips of your left hand as you gently coil the torso while leaving the right hand and your knees supported on the floor. For some, the left hand will go easily to the mat, but for many the arm will still be in the air. This is fine. Don’t force the twist, but keep the gaze beyond the fingertips to engage all of the vertebrae from the coccyx to the neck.
- To achieve the most invigorating stretch the body needs to relax in this position. Breathe deeply into the back, and release any effort to hold this pose. Allow your body to tell you any modifications that would feel good and enjoy a pleasant thought.
- To release, unwind starting with your left hand and neck, then pick up the left knee with the left and push down on the floor with the right hand until you can roll onto your back. Grab the right knee with the right hand and repeat on the opposite side, but take the time to note any differences between the 2 sides of your body in the hips, shoulders or spine.
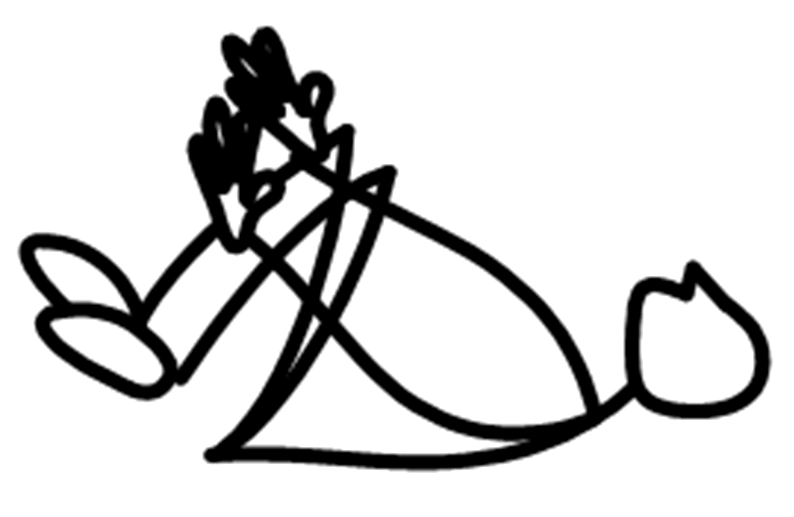
Since we are focusing on counteracting asymmetrical effects in the body, a counter pose that I like to do a lot is simply to hug the knees to the chest and rock gently from side to side. Your body may tell you another movement in this position such as a mild rotation which will feel just as good. Just listen.
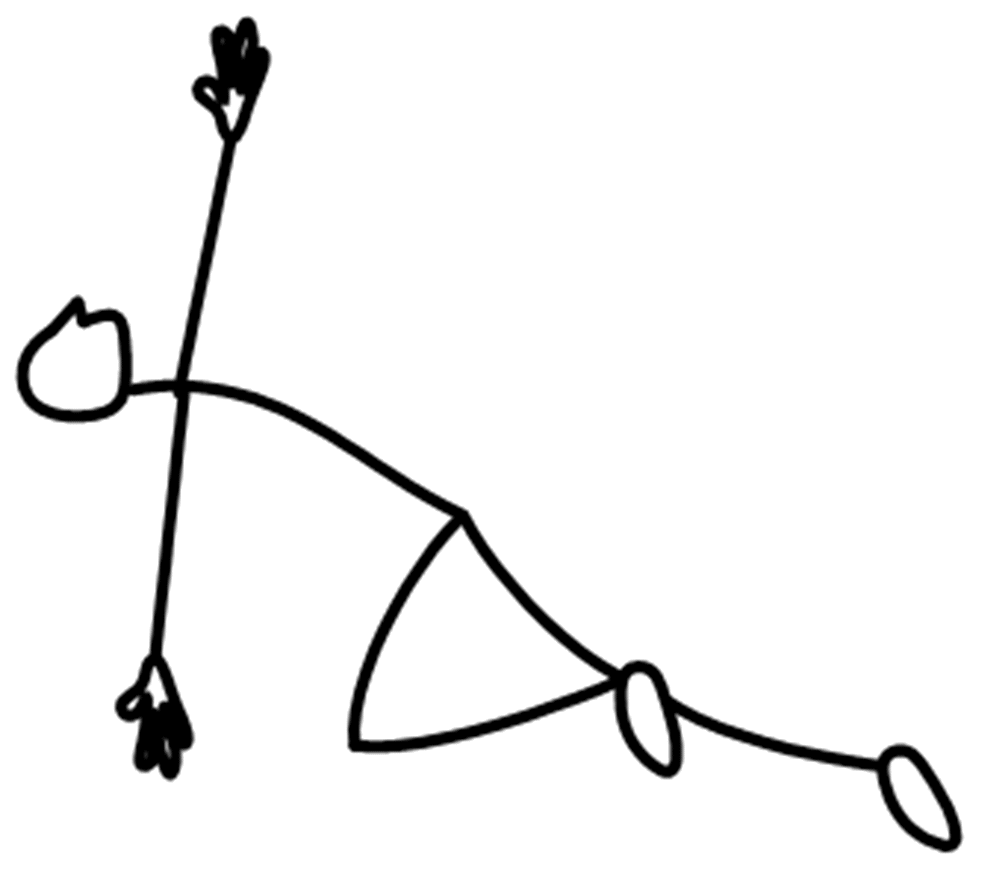
Before leaving this section there are a couple of variations to this posture that I often like to incorporate into the reclining twist sequence. The first is to just bend the right knee when rolling to the left and leaving the left leg straight. Sometimes this variation can allow you to melt a little deeper into the pose. It’s also possible to start in the 1st position described above and gradually straighten the left leg by pushing out with the heel, but this can cause some people pain so I don’t normally do it.
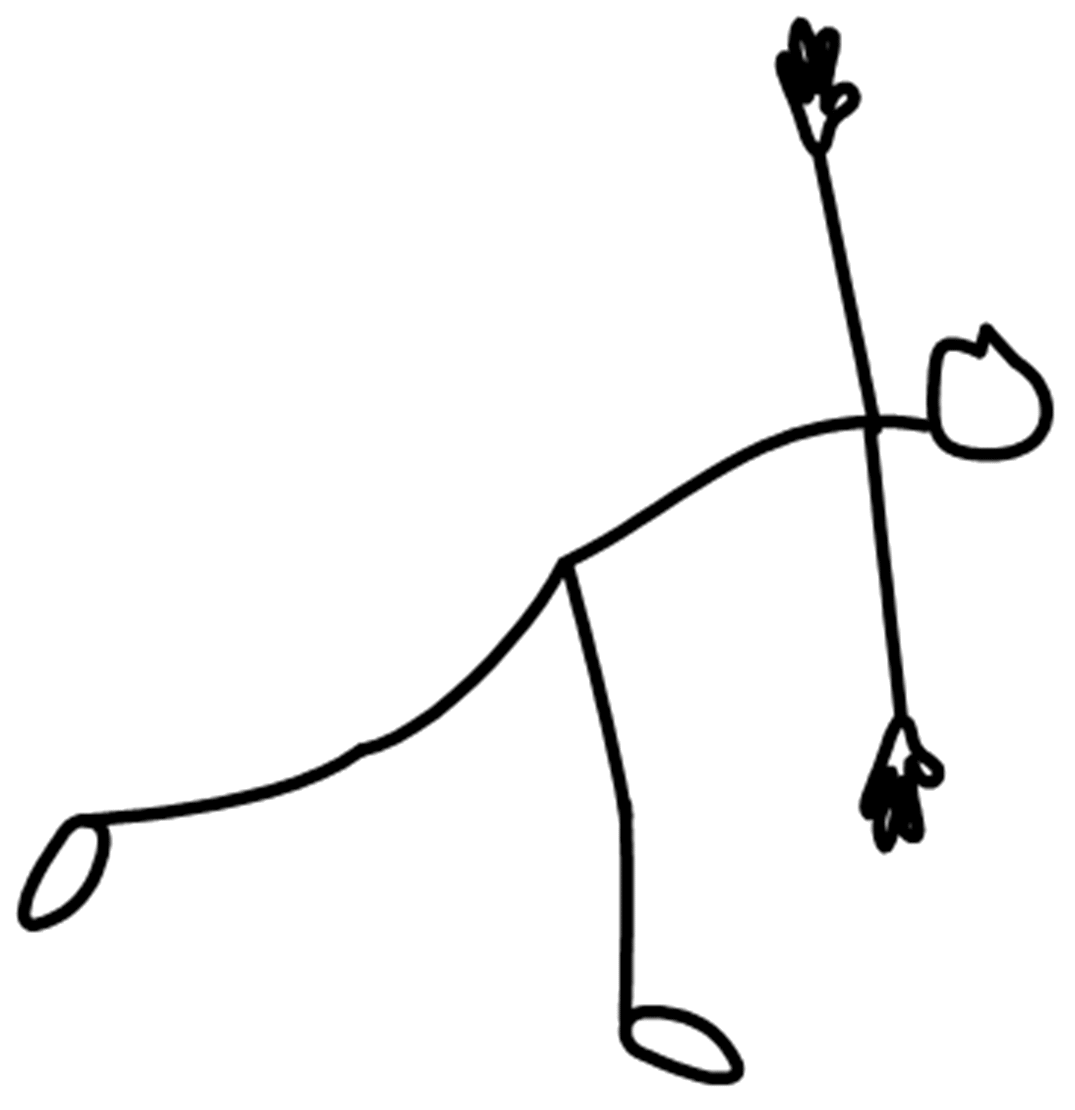
A second variation leaves the legs straight without bending the knees. It can be practiced with either one leg perpendicular to the floor or both legs perpendicular to the floor. In this position you can work on strengthening your abdominal muscles and toning the sides as you slowly lower the legs to the side. Once they are all the way down, the goals of the pose are the same, which is to breathe, relax and feel like you are becoming more supple.
Benefits
We create power in golf by turning our upper body away against the resistance of our lower body, and you can easily see how Reclining Belly Twist pose works on your flexibility to increase that power capacity. What you can’t see is all of the massaging taking place on the inside while we’re twisting.
Heart, lungs, small intestines, kidneys, urinary bladder, stomach, gall bladder, liver, spleen and pancreas are all candidates for stimulation in this posture. That’s a lot of guts! When you hear about the detoxifying effects of yoga, it is usually postures like this one that are being referred to. The wringing out of the torso massages our natural cleansing organs into greater efficiency.
All of those benefits increase with the less effort we apply to holding the posture. And it’s when we learn to lounge in this pose that we can take stock of the differences between one side of the body and the other. The stiffer side needs a little more encouragement to relax and become “stretchier”. And when we can do that, we’re learning how to relax in our golf swing and negate energy-sapping tension from our muscles.
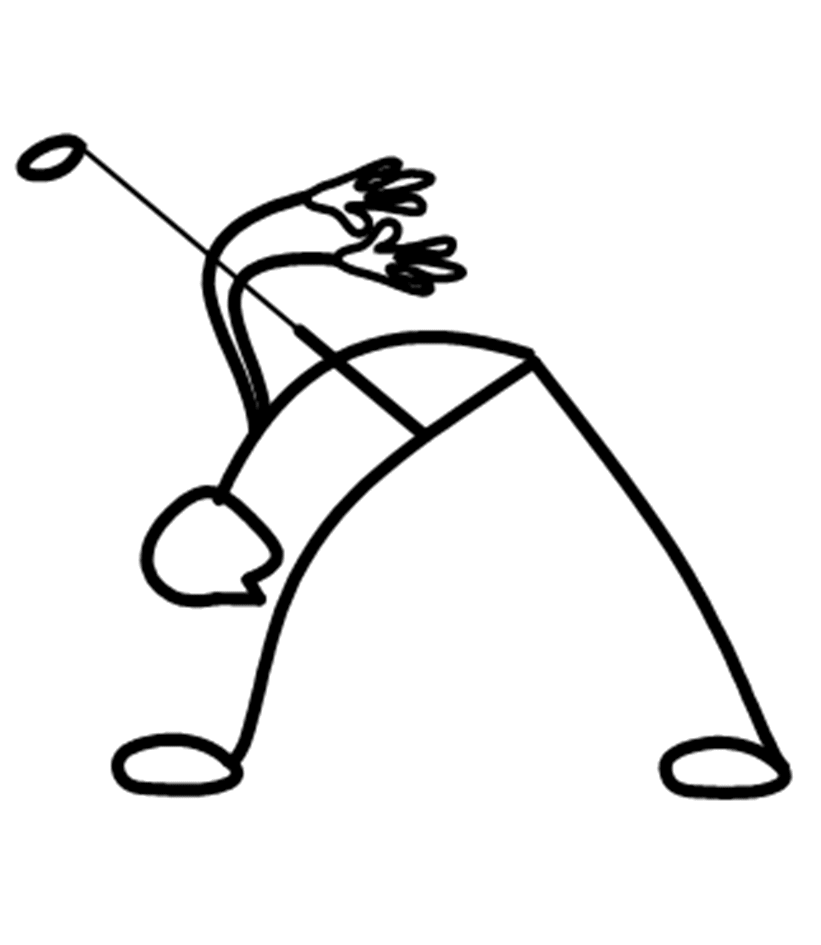
Parsvottanasana or Pyramid Pose is also known as "Intense Stretch Pose" which as the name suggests, is a posture that stretches the entire body. It is a standing forward bend with both feet flat on the ground and one foot forward. The arms are usually held behind the back either at the forearms, hands clasped together or in our case with a golf club held at the elbows.
This
is a mildly challenging pose that uses inversion to not only
strengthen and stretch the muscles of the feet, ankles, legs, back and
neck, but also massages and stimulates the digestive system, the
complexion, the hair, eyes and cools the brain. There is still some
balancing involved and therefore it also focuses attention on the
mind and
willpower. In Yoga Fore Golfers, we use the golf club to promote
proper alignment of the shoulders and hips.
Step by Step
- Step forward on your mat approximately 3 feet with your right foot
- Turn your left foot out 45 degrees to provide stability and to allow your hips and shoulders to be square to the front edge of your mat -- press the soles of your feet into your mat
- Place your golf club behind your back in the crooks of your elbows so that the shaft of the club is parallel with the floor and the front edge of your mat
- Take a big breath in and on the exhale, bend forward from the hips, almost feeling like you are pushing your left hip backwards. Maintain a connection with the shaft of the golf club and your back to encourage a straight back for the first half of the forward bend
- Allow your spine to lengthen as you relax your neck and head towards the floor. Keep your left leg straight and your left foot flat on the mat, but if you feel too much sensation in your back, legs, or neck then allow your right leg to bend at the knee and reduce the amount of forward bend
- Maintain this posture for 2 or 3 breaths
- To release the pose, bend the right leg and push up with the right foot to reduce the strain on the back in coming upright. Remember that technique in exiting a posture is usually more important than initiating the posture.
- When upright, take a nice inhale and exhale before releasing the golf club, stepping the feet back together and repeating the posture while stepping forward with the left foot.
- strengthens and stretches entire leg, back and spine
- strengthens and tones the muscles of the abdomen
- stretches hamstrings, achilles tendon and ankle joints
- improves the sense of balance and poise
- improves the digestive system
- massages the liver and stomach
- improves posture and concentration
- stimulates the complexion, hair, eyes; and,
- cools the brain.
For those with any abdominal illness or high blood pressure, it is not recommended to come down to the final stage of the posture and to come out of the posture with extra care and a little slower.
If balance is difficult, release the golf club and allow the arms to touch the ground for support.
Modifications
There are a number of arm position variations including bringing the hands together behind the back in reverse prayer position or clasping the hands together and extending the arms out and towards the head, that will increase the stretch in the legs and back while also stimulating the muscles of the shoulders.
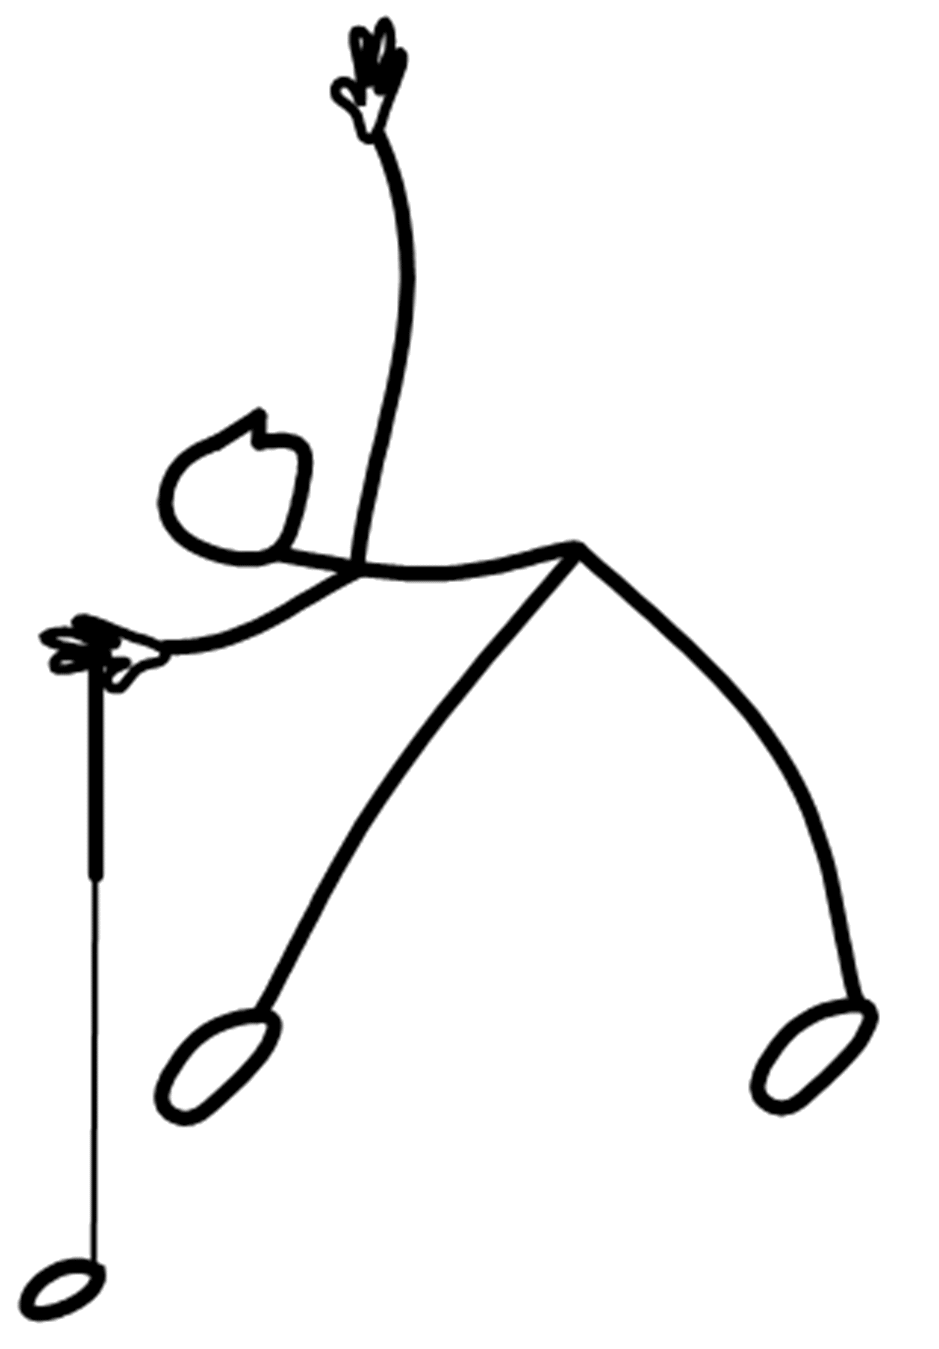
Trikonasana or Triangle pose stretches the spine, opens the torso, improves balance and improves concentration. This particular variation also stretches the backs of the legs and strengthens the muscles of the feet and ankles.
So when it comes to back pain, particularly as it affects the golf swing, we’re going to think about how we can lengthen the spaces between the vertebrae and increase the range of motion of those spinal bones.
Step by Step
- Stand with your feet together and the golf club in both hands. Shift your weight slightly to your left foot and step to the right 3 or 4 feet.
- Slightly pigeon toe your feet to stretch the inner and outer hamstrings evenly and then ‘grip’ your mat with your toes and heels. While exhaling, pull your abdomen in and bend forward while pushing back slightly with your hips to keep your lower spine relatively straight.
- As your spine nears parallel with the floor, balance the upright golf club under the palm of your right hand. Your right arm should be as straight as feels comfortable. (We balance the golf club to avoid putting ourselves into a vulnerable position should the golf club slip.)
- Allow your left arm to hang as if you were finding your grip position on a side-hill lie. Rotate your torso to the left by drawing a line with your left arm towards the ceiling. The goal is to have your left arm parallel with your golf club, but only go as far as feels comfortable.
- Keep your abdominal muscles contracted and gaze beyond the fingers of the left hand. Hold this posture for 2-3 breaths.
- To release, retrace your left arm movement back to the floor, bend your knees and push yourself back up to standing using your legs. Step your feet back together.
- Take a nice, big inhale and exhale to allow the blood pressure to normalize and flow to your joints before beginning this posture again with the other side.
This pose gives a terrific stretch to the backs of the legs and in particular, the hamstrings. These tendons are important to the golf swing, but are often overlooked by golfers when warming. If you don’t stretch your hamstrings, your stance may be more upright. When you call up the muscle memory for that beautiful opening drive off the first tee, your swing arc will be flatter than normal. To avoid the 1st tee duck hook – stretch your hamstrings before you play.
With the legs spread wide, we anchor the hips to get a really nice twist of the spine, from the coccyx to the neck. Most yoga spine twists target a particular area of the spine, but this one touches all of the vertebrae in a way that stimulates circulation while increasing the range of motion. Do not push past your body’s limits – it’s not supposed to hurt. Over time, your flexibility will improve.
As we turn our gaze towards our outstretched fingertips, we feel the stretch in our shoulders. These sockets take a fair amount of abuse in the golf swing. The gentle rotations in this posture develop strength and flexibility in these joints. This stretch warms the 4 muscles of the rotator cuff while lengthening the tendons.
Golf instructors often link spine coiling in the takeaway to greater power in the golf swing. This posture works on increasing that. By learning to balance with our feet and legs, we free up our back muscles to relax and lengthen. This allows for a maximum turn away from the ball and greater power. With yoga, we work towards greater flexibility and better health. If we gain a few more yards off the tee, that’s a welcome bonus.
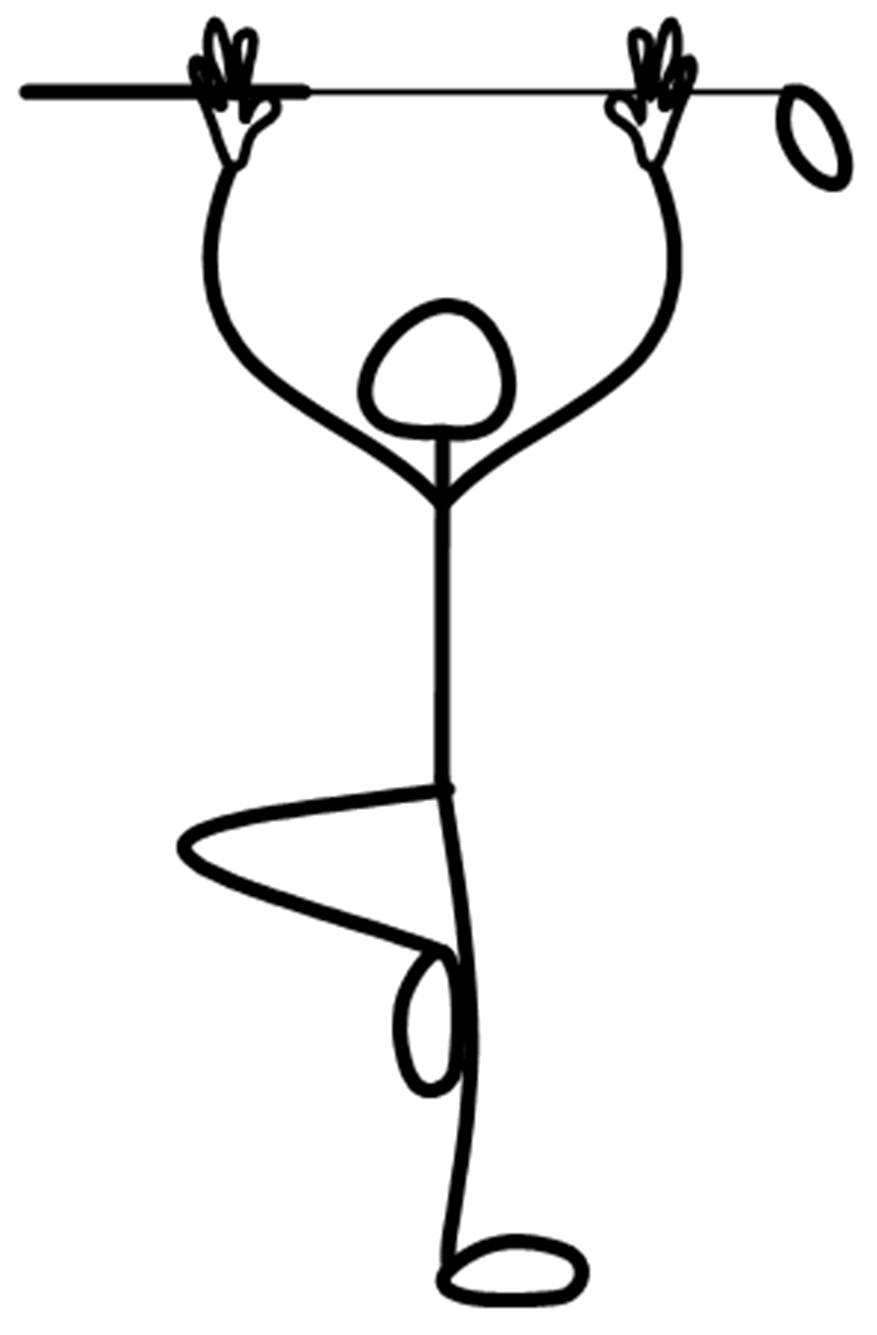
Vrksāsana or Tree Pose is a basic standing posture with one foot on the ground and the second leg bent so that the sole of the foot is on the inner thigh of the opposite leg. The arms are usually held above the head in order to stretch the spine.
This
challenging pose uses one-legged balancing to strengthen the muscles of
the feet, ankles and legs while also focusing attention on the mind and
willpower. In Yoga Fore Golfers, we also use the golf club to promote
proper alignment of the shoulders, hips and spine while still
encouraging some openness of the bent leg’s hip joint.
Step by Step
- Bend the right knee, bringing the sole of the right foot high onto the inner left thigh
- Press the foot into the thigh and the thigh back into the foot (Note: until strength and balance have been built up, it is perfectly acceptable to place the foot against the ankle or shin, but avoid putting pressure directly on the knee)
- Try not to let the right hip jut out and try to keep both hips squared towards the front
- Find a point of focus (or drishti) that does not move to help you keep your balance
- Repeat the posture while standing on the right foot.
- strengthens thighs, calves, ankles, and spine
- stretches, firms and tones the muscles of the groins and inner thighs, chest and shoulders
- improves the sense of balance and poise
- relieves sciatica
- reduces flat feet
- improves posture and concentration
- limbers the hips; and,
- deepens the thorax.
For those with high blood pressure it is not recommended to raise the arms fully over the head, but to instead bring the hands together in front of the heart.
Question for Yoga Sage:
"Is it true that trees are 90% air?"
Answer:
"Ah yogi golfer, I have pondered this for some time and if there is a tree in your line of sight to the hole, you can be sure that the 90% air rule will be true 50% of the time. Do the math."

Yoga for Golfers, 50+ Yoga, and Hatha Yoga for Active Older Adults in Victoria, BC
Copyright © 2010-2011 Yoga Hut Services Ltd. All rights reserved.
Home | Yoga For Golfers | About Yoga Hut | Class Info | Articles | Poses | Links